
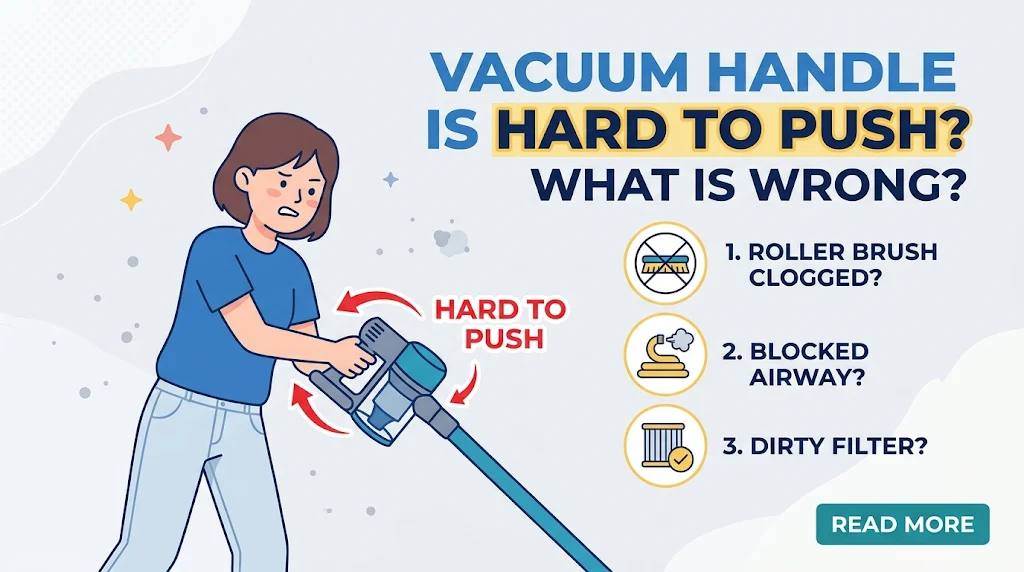
Pushing a vacuum across your rug shouldn’t feel like a high-intensity gym workout. When you grab your vacuum handle only to meet stubborn resistance, it is easy to assume the machine’s motor is failing or the entire unit needs to be thrown out. However, a vacuum handle or push mechanism that is hard to push is one of the most common—and easily fixable—household appliance issues.
Whether your vacuum is suctioned flat to the floorboards, the handle hinge feels locked up, or the roller head is dragging against thick carpet fibers, this guide will walk you through every cause. Below, you will find step-by-step diagnostic procedures, mechanical fixes, and maintenance strategies to make your vacuum glide effortlessly once again.
Understanding Why a Vacuum Becomes Hard to Push
Before grabbing a screwdriver or adjusting settings, it helps to understand the physical forces at play. A vacuum cleaner relies on a delicate balance of airflow dynamic, mechanical friction, and leverage. When one of these systems experiences a disruption, the mechanical energy required to propel the unit forward spikes dramatically.
+-----------------------------------------------------------------------+
|                         PRIMARY RESISTANCE FACTORS                    |
+-----------------------------------------------------------------------+
|                                                                       |
|   1. AIRFLOW BINDING        2. MECHANICAL FRICTION   3. STRUCTURAL JAM |
|   +-------------------+     +-------------------+    +--------------+ |
|   | Excess Suction    |     | Jammed Bearings   |    | Stiff Hinge  | |
|   | Sealed Nozzle     |     | Entangled Roller  |    | Misaligned   | |
|   | Incorrect Height  |     | Blocked Wheels    |    | Release Lock | |
|   +-------------------+     +-------------------+    +--------------+ |
+-----------------------------------------------------------------------+
When diagnosing a stiff vacuum handle, resistance falls into two distinct categories:
Airflow binding: High suction creates a physical vacuum seal between the floor head and your flooring, pinning the machine down.
Mechanical resistance: Friction in the wheels, brush roller, height linkage, or handle pivot joint physically blocks the push action.
1. High Suction & Floor-Sealing Issues
Excessive suction is the most frequent culprit behind a hard-to-push vacuum handle—especially on modern high-efficiency upright and canister models.
        High Suction Airflow (Sealed Nozzle)
        ===================================
                  [ Vacuum Motor ]
                         ||
                 (Strong Air Stream)
                         ||
    ============================================= <-- Vacuum Base
    [  [Carpet / Floor]  ||  [Carpet / Floor]   ]
    =============================================
         ^                                  ^
   Airseal Created                    Airseal Created
   (Vacuum pins down)                 (Vacuum pins down)
Incorrect Floor Height Settings
Modern carpet styles, particularly soft plush, high-pile, and memory-foam underlayments, trap airflow beneath the cleaner head. If your vacuum head is set too low for the carpet pile height, the intake nozzle creates an airtight seal against the carpet backing.
Key Takeaway: If your vacuum handle forces you to lean forward with your entire body weight, your floor head is likely sealed flat against the flooring rather than riding above the carpet fibers.
How to Adjust Floor Height Correctly:
Locate the Dial: Find the height adjustment knob or lever, usually located near the front wheel assembly.
Raise the Head: Turn the dial to the highest setting (“High Pile” or “Plush Carpet”).
Step-Down Test: Turn the vacuum on and lower the setting one notch at a time until you hear the brush roll make light contact with the carpet. Stop before resistance increases.
Overpowered Suction Control
Many canister and upright vacuums feature high-wattage motors designed to pull deep dirt out of hard floors. When used on dense rugs without adjusting the suction control valve, the suction locks the cleaning head to the rug surface.
Solution:
Adjust the Air Bypass Valve: Open the manual suction control slider on the handle or wand. Opening this valve bleeds in ambient air, reducing the downward pull at the base without sacrificing debris pickup.
Lower Variable Motor Power: If your vacuum has electronic speed controls, dial back the motor speed when moving from hard tile or hardwood to area rugs.
2. Mechanical Obstructions & Brush Roll Resistance
If your vacuum handle feels stiff even when the motor is turned off, the issue lies within the mechanical drive train, roller assembly, or wheel axles.
       BRUSH ROLL ENTANGLEMENT & AXLE BINDING
       +------------------------------------+
       | [Bearing] <- Hair Wrap -> [Bearing]|
       |   ||                              ||   |
       |   ==  ========== Roller ========  ==   |
       +------------------------------------+
Hair Wrap and Debris on the Brush Roll
The brush roll (beater bar) assists forward movement by rotating against the floor. When hair, string, carpet fibers, or threads wrap tightly around the ends of the roller, they bind against the end caps and bearing housings.
How to Clear a Jammed Brush Roll:
Power Off: Unplug the unit or remove the lithium-ion battery pack.
Expose the Roller: Turn the vacuum base over to access the bottom plate. Release the bottom plate latches or remove the retaining screws.
Cut Away Debris: Use a pair of shears or a seam ripper to cut along the groove running the length of the brush bar. Avoid using utility knives that can notch the plastic bristles or cut the drive belt.
Clean the Bearings: Pop the brush roller out of its housing and slide off the end caps. Remove wrapped thread from the metal spindle axles.
+-----------------------------------------------------------------------+
| PRO TIP: PREVENTIVE BRUSH MAINTENANCE                                 |
+-----------------------------------------------------------------------+
| Inspect your brush roller every 2-3 weeks. Hair that sits on the axle |
| ends generates heat through friction. Over time, this heat can melt  |
| plastic end caps or seize internal steel ball bearings, causing permanent |
| drag on the handle movement.                                          |
+-----------------------------------------------------------------------+
Seized or Gummed-Up Wheel Axles
The small front wheels and main rear wheels bear the physical weight of the vacuum. Hair and sticky floor residue frequently wrap around the wheel pins, stopping them from rotating smoothly.
   WHEEL INSPECTION CHECKLIST
   [ ] Spin each wheel by hand with the unit off.
   [ ] Check for wobble or lateral play indicating worn bushings.
   [ ] Remove hair coils behind the wheel hub using tweezers.
   [ ] Clean sticky residue using 90% isopropyl alcohol.
If a wheel resists spinning, clear the axle housing. Spray a small amount of dry silicone lubricant directly onto the axle pin. Avoid oil-based lubricants like standard WD-40 multi-use spray, as wet oils attract dust and create a thick sludge that locks up wheels within days.
3. Handle Hinge, Recline Joint & Linkage Problems
If the handle itself refuses to tilt back, feels locked, or binds midway through the recline movement, the defect is located inside the mechanical hinge joint.
+-----------------------------------------------------------------------+
|                       HANDLE HINGE & LINKAGE DIAGRAM                  |
+-----------------------------------------------------------------------+
|                                                                       |
|   [ Upper Handle Shaft ]                                              |
|            ||                                                         |
|            ||                                                         |
|   ( Pivot Release Pedal ) <--- [ Missing/Broken Spring ]              |
|            ||                                                         |
|     ( Internal Gear )    <--- [ Dirt Accumulation / Misaligned Teeth] |
|            ||                                                         |
|     [ Lower Chassis ]                                                 |
|                                                                       |
+-----------------------------------------------------------------------+
Stiff or Dislodged Handle Recline Pedal
Most upright vacuums utilize a foot-pedal latch near the base to release the handle from its upright, storage-locked position into the operating, reclined position.
Foreign Object Obstruction: Small toys, pebbles, or hard debris can drop into the handle tilt mechanism housing, physically blocking the internal catch lever.
Worn Detent Spring: If the foot release pedal feels loose or fails to spring back, the internal return spring may have detached or snapped, keeping the locking pin partially engaged.
Internal Cable & Hose Tension
Swivel-neck uprights feed flexible suction hoses and internal wiring harnesses directly through the center of the handle hinge.
If the internal stretch hose slips out of its guide track during filter cleaning or maintenance, it can bind inside the knuckle joint. This acts as a mechanical restraint whenever you attempt to push the handle forward or angle it downward.
Step-by-Step Handle Pivot Fix:
Unplug the Vacuum: Disconnect the unit from electrical outlets.
Inspect the Pivot Area: Shine a torch directly into the lower knuckle assembly where the handle connects to the base deck.
Check Hose Alignment: Ensure the main flexible lower hose is fully seated in its retention brackets and isn’t pinching when you tilt the handle back and forth.
Clean and Lubricate Joints: Clear out compacted dirt from the pivot tracks using compressed air. Apply a light film of dry PTFE (Teflon) spray lubricant to the plastic friction joints.
4. Drive Belt Misalignment & Self-Propelled System Failures
In models equipped with self-propelled drive units or dual-motor brush rollers, a hard-to-push handle can point directly to a failing drive mechanism.
+-------------------------------------------------------------------------+
|                  BELT CONDITION VS. HANDLE FEEL                         |
+-------------------------------------------------------------------------+
| BELT CONDITION         | SYMPTOM ON HANDLE                              |
| ---------------------- | ---------------------------------------------- |
| Stretched / Worn       | Sudden heavy drag; brush roll stalls on carpet |
| Snapped / Broken       | Unassisted heavy pushing; brush roll idle      |
| Misaligned / Twisted   | Jerky, erratic push effort; burning rubber smell|
| Over-tightened         | High handle resistance; strained motor pitch   |
+-------------------------------------------------------------------------+
Belt Slip and Friction Drag
When a drive belt stretches out, it fails to turn the brush roll at full RPM under load. Instead of assisting your forward motion across the carpet, the stalled brush roll acts as a rubber brake pad dragging against the floor.
Replacing a Dragging Drive Belt:
Lay the vacuum face down on a flat work surface.
Unscrew the soleplate to expose the belt cover.
Slide the old belt off the motor shaft spindle and brush roll pulley.
Compare the old belt to a new replacement belt; if the old belt is stretched longer or cracked, discard it.
Loop the new belt around the motor shaft first, then thread it over the brush roll slot.
Stretch the brush roll back into its side alignment slots and manually rotate it 3-5 times to center the belt before reassembling the soleplate.
Step-by-Step Diagnostic Framework
Follow this sequential troubleshooting procedure to pinpoint why your vacuum handle is hard to push:
                  [ START DIAGNOSIS ]
                           |
            Is the vacuum turned ON or OFF?
                          / \
                         /   \
                      [OFF]   [ON]
                       /       \
                      /         \
  Does handle recline          Does suction lift
  smoothly when tilted?        or pull down floor?
        / \                          / \
       /   \                        /   \
    [NO]   [YES]                 [YES]  [NO]
     |       |                     |      |
  Fix Hinge  Check Wheels/       Raise   Clean Roller/
  Linkage    Brush Roll          Head /  Check Belt
                                 Bleed
                                 Air
Step 1: Isolation Test (Motor OFF)
Disconnect power and tilt the handle back into operating position. Push the vacuum across a flat hard surface like tile or hardwood.
If resistance is high: The problem is purely mechanical (seized wheels, entangled brush roll, or a stiff handle pivot hinge).
If it glides smoothly: The problem is related to airflow, suction binding, or carpet interaction.
Step 2: Carpet Surface Test (Motor ON)
Turn the unit on over your carpeted floor.
If the head sticks to the floor: Immediately open the suction bleed valve on the wand or raise the deck height control by 1–2 positions.
If you hear a high-pitched squeal or smell burning rubber: The brush roll has stalled completely. Turn off power immediately and clear wrapped hair or replace the drive belt.
Common Pitfalls & Mistakes to Avoid
Using Oil-Based Lubricants (WD-40 Multi-Use): Never apply oil or grease inside plastic handle hinges, wheel pins, or brush roll housings. Oil breaks down certain plastics and traps micro-dust, creating a abrasive grinding compound that ruins the vacuum mechanism. Use dry silicone or PTFE spray instead.
Forcing a Stiff Handle: If your handle foot latch fails to disengage, forcing the handle backward will snap the plastic detent tabs inside the lower chassis. Once these tabs break, the handle will no longer lock vertically for storage.
Washing Filters Without Complete Drying: Clogged, damp air filters alter internal pressure differentials, causing electronic bypass valves to fail and locking high-efficiency head nozzles flat against floor coverings.
Frequently Asked Questions
Why is my vacuum handle hard to push on new or high-pile carpet?
Modern plush carpets feature ultra-dense fibers that trap vacuum nozzles. If your vacuum lacks a dedicated high-pile deck adjustment or a manual suction release valve, the motor pulls an airtight seal against the carpet backing. Raise the head height or open the air valve on the handle shaft.
Can a dirty filter make a vacuum head stick to the floor?
Yes. On certain sealed HEPA vacuums, clogged secondary filters disrupt designed airflow routing. This causes variable-pressure relief valves inside the floor head to remain shut, sending 100% of motor suction straight to the nozzle base and pinning it down.
How do I fix a stiff pivot hinge on my upright vacuum handle?
Unplug the unit, clean out accumulated dust from the swivel knuckle using compressed air, and inspect internal suction hoses for twisting. Spray the plastic contact joints with dry silicone spray while reclining the handle back and forth to distribute the lubricant.
Why does my self-propelled vacuum handle resist pushing forward?
Self-propelled systems use internal drive belts and mechanical actuator clutches tied to handle movement. If the drive belt snaps, stretches, or slips out of place, the power-assist disconnects, leaving you pushing against the resistance of the internal drive gears.
