
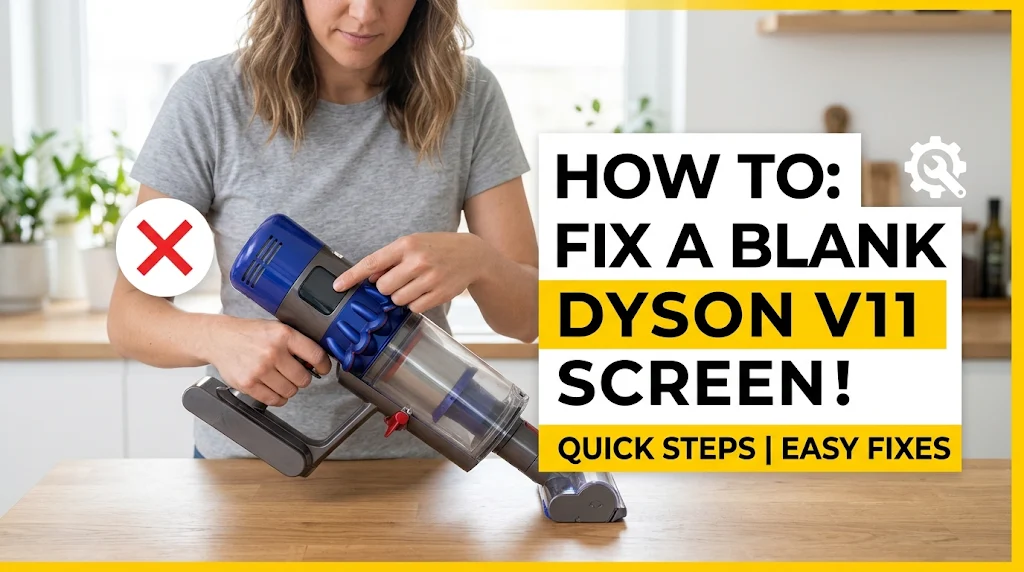
Few household inconveniences rival the sudden panic of pulling your high-end cordless vacuum from its charging dock, pressing the trigger, and meeting complete, unyielding silence—accompanied by a stark, pitch-black LCD screen. For owners of the Dyson V11, that bright digital display is more than just a futuristic bell and whistle; it is your command center. It tells you your remaining runtime, alerts you to blockages, warns you about filter maintenance, and signals battery health in real-time.
When that screen goes blank, your $600+ cleaning powerhouse can instantly feel like an expensive paperweight.
However, before you begin browsing online marketplaces for an expensive replacement battery or booking a costly manufacturer repair, take a deep breath. A blank screen on a Dyson V11 is a surprisingly common issue, and in the vast majority of cases, it stems from minor software glitches, temporary battery trips, or poor electrical connections rather than permanent hardware failure.
In this comprehensive guide, we will walk you through the anatomy of your vacuum’s power system, explore the exact root causes behind a dead screen, and provide an exhaustive, step-by-step diagnostic roadmap to bring your Dyson V11 back to life.
Understanding the Dyson V11 Display and Power Architecture
To effectively troubleshoot a problem, you first need to understand how your machine works. Unlike older, simpler cordless vacuums that rely strictly on a basic analog circuit linking the trigger switch to the motor, the Dyson V11 is essentially a smart appliance powered by an onboard microprocessor.
The Brains Behind the Clean
The V11 utilizes an integrated printed circuit board (PCB) housed near the handle and screen. This microprocessor constantly communicates with:
The Click-in or Screw-in Battery: Monitoring voltage, cell balance, and thermal performance.
The Digital Motorbar Cleaner Head: Detecting floor types and adjusting suction power dynamically.
The Trigger Switch: Registering user input to regulate pulse-width modulation for motor speed.
When you pull the trigger, the microprocessor wakes up, boots the LCD screen, and displays your current power mode (Eco, Auto, or Boost) alongside remaining runtime calculations based on current load resistance.
Why Does the Screen Go Blank?
Because the screen depends entirely on a stable, clean stream of voltage from the battery pack routed through the main body contacts, anything that interrupts this closed loop will cause the screen to remain unlit. The most frequent culprits include:
Battery Protection Mode: The battery’s internal management system (BMS) has tripped a safety circuit due to a power surge, short circuit, or overheating.
Corroded or Obstructed Terminals: Microscopic dust, lint, or oxidation on the metal contact pins blocking electrical continuity.
Trigger Switch Failure: The mechanical micro-switch behind the trigger has worn out or become jammed, failing to signal the board to wake up.
Deep Discharge: The battery voltage has dropped below the threshold required to boot the screen and charge normally.
Step 1: Perform a Hard Power Reset
Just like a frozen smartphone or a glitching laptop, the Dyson V11’s onboard computer can occasionally experience software lockups. When this happens, a simple trigger pull won’t suffice because the microprocessor remains trapped in a frozen state.
The Trigger-Hold Soft Reset
Remove any attachments, extension wands, or cleaner heads from the main body.
Hold the vacuum upright in your hand.
Press and hold down the trigger continuously for 20 to 30 seconds.
Release the trigger.
Wait 5 seconds, then press the trigger normally to see if the screen lights up.
Pro Tip: During this process, you may notice the blue LED lights on the sides of the battery (on click-in models) flash or flicker. This indicates that the internal capacitors are draining completely, clearing out residual static charge and forcing the microprocessor to reboot from scratch.
Step 2: Inspect and Clean Battery and Body Terminals
Dust is the eternal enemy of cordless vacuums. Because the Dyson V11 relies on physical metal contact plates to transfer power between the battery pack, the main body, and various accessories, even a microscopic barrier of carbon dust or fine drywall powder can completely sever the electrical connection.
How to Clean Your Electrical Contacts Safely:
Power Down and Disassemble: Ensure the vacuum is removed from the charger. If you have a V11 with a click-in battery, press the red battery release button and slide the battery off. If you have a screw-in battery model, use a T8 Torx screwdriver to remove the securing screws.
Examine the Pins: Look closely at the gold or silver metal spring contacts on both the battery and inside the handle housing. Look for signs of dark residue, lint buildup, or green oxidation.
Clean with Isopropyl Alcohol: Take a cotton swab (Q-tip), dip it lightly in high-concentration isopropyl alcohol (91% or higher), and gently scrub the metal contact pads.
Dry Thoroughly: Allow the contacts to air-dry completely for 10–15 minutes before reassembling the unit. Never plug a wet or damp battery into your vacuum.
Example: Imagine trying to plug a smartphone charger into a port filled with pocket lint. The charger fits, but electricity cannot flow. Cleaning the Dyson’s contact terminals clears the digital highway, allowing power and data signals to pass freely once again.
Step 3: Diagnose and Test the Charger and Wall Dock
Sometimes the issue has nothing to do with the vacuum cleaner itself; instead, the problem lies upstream at the wall outlet, the charging cable, or the charging dock. If your battery is completely drained and your charger is failing to deliver current, the screen will remain blank because there is zero energy available to power it.
Step-by-Step Charger Troubleshooting:
Verify the Wall Outlet: Unplug the Dyson charger from its current socket and plug a lamp or phone charger into that exact outlet to ensure it is live. If the outlet is controlled by a wall switch, make sure the switch is flipped on.
Inspect the Charging Cable: Run your fingers along the entire length of the charging cord. Look for kinks, fraying, bite marks from pets, or exposed copper wiring.
Check the Charging Indicator Light: Plug the charger directly into the charging port on the battery (bypassing the wall mount dock if you use one). Look at the small LED indicator light on the side of the battery pack:
Solid Blue: Charging normally.
Flashing Blue: Not charging / fault detected.
Flashing Yellow: Error state (often temperature or connection related).
No Light at All: Either the charger is dead, the outlet is dead, or the battery’s internal fuse has blown.
Step 4: Evaluate Filter Health and Airflow Blockages
It sounds counterintuitive—what does a clogged filter have to do with a blank screen? Modern Dyson vacuums are equipped with sophisticated thermal and pressure protection sensors. If airflow is severely restricted (such as by a heavily compacted, unwashed HEPA filter or a severe clog in the cyclone assembly), the motor draws excessive current to compensate, causing internal temperatures to spike rapidly.
When thermal limits are breached, the Battery Management System (BMS) instantly cuts all power to protect the lithium-ion cells from degradation or thermal runaway. This sudden cutoff can sometimes leave the screen blank until the system cools down and resets.
The Deep-Clean Filter Recovery Routine:
Remove the Filter: Twist the filter counter-clockwise at the rear of the machine and pull it off.
Check for Odors and Debris: Smell the filter. If it smells musty or sour, or if it is caked in a grey layer of fine dust, it is long overdue for a wash.
Wash with Cold Water Only: Hold the filter under a cold running tap, gently squeezing it to flush out trapped dirt. Never use soap, detergent, or hot water.
Dry for a Full 24 Hours: Shake out excess water and leave the filter in a warm, well-ventilated area for at least 24 hours. Crucial Rule: Putting a damp filter back into a Dyson V11 restricts airflow instantly and can burn out the motor or fry the circuit board.
Step 5: Advanced Battery Diagnostics (Reviving a Deep-Discharged Battery)
If your Dyson V11 has been sitting unused in a closet or garage for several months, the battery may have fallen into a deep discharge state.
Lithium-ion batteries naturally self-discharge over time. If the voltage drops below a strict safety threshold (usually around 2.5V per cell), the internal battery management computer locks the battery down permanently to prevent chemical breakdown or fire hazards. When this happens, the standard charger will refuse to recognize the battery, and the screen will remain stubbornly blank.
Can You Revive a Locked Battery?
If your battery is locked in deep discharge protection mode, standard consumer troubleshooting may not suffice.
Direct Charging Test: Try plugging the charger directly into the battery port while the battery is detached from the vacuum body. Leave it connected for 3 to 4 hours. Sometimes, a slow trickle charge can coax the voltage back above the safety threshold.
Replacement Consideration: If direct charging yields no flashing lights after several hours, the battery cells have degraded past the point of recovery, and you will need to invest in a genuine replacement Dyson V11 battery.
Common Pitfalls and Mistakes to Avoid
When attempting to troubleshoot expensive electronics, frustration can lead to hasty decisions. Avoid these frequent mistakes:
Mistake #1: Buying Cheap Third-Party Replacement Batteries. While aftermarket batteries found online may be cheaper, they often lack proper thermal sensors and overcharge protection circuits. Many users report that generic batteries trigger error codes, fail prematurely, or cause screen glitches on the V11. Always stick to genuine OEM parts.
Mistake #2: Running the Vacuum with a Wet Filter. As noted earlier, moisture entering the main body housing will instantly short-circuit the sensitive electronic components behind the LCD screen.
Mistake #3: Ignoring Error Codes on Boot. If your screen flickers on briefly before going blank, pay close attention to any icon that flashes (such as a blocked airway animation or a thermometer icon). Ignoring these visual clues leads to recurring breakdowns.
Frequently Asked Questions (FAQ)
1. Will a dead battery cause the Dyson V11 screen to be completely blank?
Yes. If the battery is completely drained or its internal fuse has tripped, there is no electrical current available to power the LCD screen, resulting in a completely dark display.
2. Can I use my Dyson V11 while it is plugged into the charger?
No. Dyson cordless vacuums are engineered with an automatic safety lockout feature that disables the motor when the charging cable is connected. Trying to run the vacuum while plugged in can damage the motherboard.
3. How do I know if my Dyson V11 screen is broken or if the battery is dead?
If the battery indicator lights on the sides of the battery pack light up when you press the charger, but the main screen remains black, the issue may be in the screen connection or switch. If neither the battery lights nor the screen responds, the issue is almost always power-related (battery or charger).
4. What is the warranty on Dyson V11 batteries and screens?
Dyson typically offers a 2-year limited warranty on new machines covering parts and labor. If your machine is within this window and experiencing unprovoked screen failure, contact Dyson customer support for a free replacement component.
