
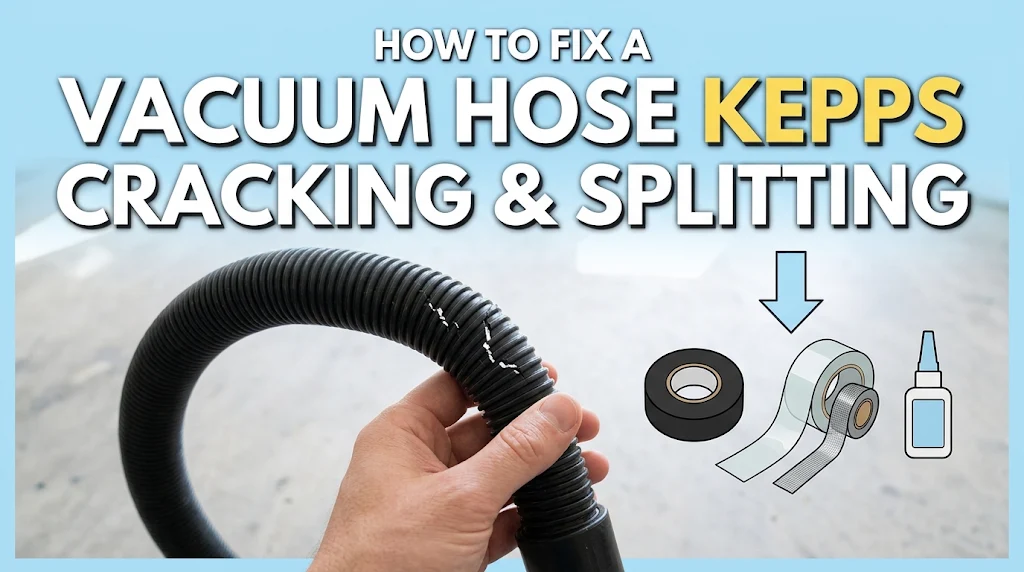
There is few things more frustrating during a deep cleaning session than hearing that sudden, telltale whistle of a pressure drop, followed immediately by a drastic loss of suction. You flip the machine over, trace the length of the flexible hose, and find it: a fresh crack or split whispering air into the system instead of sucking up dirt from your floors.
Even worse is when you patch it up, only for the hose to rupture an inch away a week later. Why do vacuum hoses seem trapped in an endless cycle of degradation? And more importantly, how can you permanently break that cycle—or at least fix it like a pro when disaster strikes?
Whether you are dealing with a central vacuum system, an upright canister vacuum, or a shop vac in your garage, this comprehensive guide will walk you through the root causes of recurring hose failures, emergency quick-fixes, permanent repairs, and elite maintenance strategies to protect your investment.
Understanding Why Vacuum Hoses Keep Cracking and Splitting
To fix a recurring problem, you first need to understand the physics and material science behind it. Vacuum hoses are subjected to a unique combination of mechanical stress and environmental wear.
Material Fatigue and Plastic Aging
Most standard vacuum hoses are manufactured from flexible thermoplastics, ethylene-vinyl acetate (EVA), or reinforced vinyl. Over time, plasticizers—the chemical additives that keep plastics pliable—evaporate or break down due to age, exposure to ultraviolet (UV) light, and temperature fluctuations. As these plasticizers leach out, the material becomes brittle. Once a hose loses its elasticity, the constant flexing during daily operation turns minor bends into catastrophic stress fractures.
Mechanical Stress Points (Bending and Kinking)
Every time you pull your vacuum around a sharp corner of a sofa or yank the hose to reach the edge of a room, extreme tension concentrates at specific pivot points. The cuffs (where the hose connects to the machine handle or the vacuum body) and the middle segments experience repetitive bending cycles. When a hose is repeatedly twisted or forced into tight loops during storage, micro-fissures form beneath the surface, eventually expanding into visible splits.
Pro Tip: If your vacuum hose has built-in electrical wires (common in central vacuums or power-nozzle uprights), excessive twisting not only splits the outer plastic casing but can also snap internal copper wires, causing intermittent power failures to your cleaning head.
Environmental Factors: Heat, Sunlight, and Dry Storage
Store your vacuum in a hot garage or a sunlit mudroom? Extreme heat accelerates polymer breakdown. Furthermore, dry indoor air can sap moisture from older rubberized components, causing them to dry out and split prematurely.
Step-by-Step Emergency Fixes for a Split Vacuum Hose
If you are in the middle of cleaning and need an immediate, functional workaround before ordering a replacement part, several reliable emergency repair techniques can restore airtight suction.
Method 1: Heavy-Duty Silicone Tape or Rescue Tape (The Quick Patch)
Standard office tape or masking tape will implode instantly under negative pressure. However, self-fusing silicone tape (often marketed as “Rescue Tape” or “X-Treme Tape”) creates a permanent, airtight chemical bond with itself under tension.
Clean the Area: Wipe down the cracked section of the hose with rubbing alcohol to remove dust, grease, or pet hair. A clean surface is mandatory for proper adhesion.
Stretch and Wrap: Peel the plastic backing off the silicone tape. Stretch the tape to roughly double its resting length as you wrap it.
Overlap Layers: Start wrapping about two inches before the crack. Overlap each consecutive wrap by 50% as you move past the crack by another two inches.
Cure Time: Silicone tape fuses into a solid rubber barrier within minutes, handling high tension and air pressure effortlessly.
Method 2: Heat Shrink Tubing (The Clean, Professional Seal)
If the split is located near the end of the hose or you can slide a sleeve over the damaged zone, heavy-duty adhesive-lined heat shrink tubing provides an exceptionally sleek, durable fix.
Select the Right Size: Purchase a roll of marine-grade dual-wall heat shrink tubing (with an inner adhesive lining) wide enough to slide over your vacuum hose cuff, but narrow enough to shrink tightly down onto the hose body.
Position the Tubing: Cut a 4-to-6-inch segment of tubing and slide it over the damaged section of the hose.
Apply Heat: Using a heat gun (or a carefully controlled hair dryer on high heat), evenly sweep back and forth across the tubing.
Activate the Adhesive: As the outer tube shrinks, the inner thermoplastic adhesive melts, sealing every microscopic crevice and locking the hose walls together rigidly.
Method 3: Bicycle Inner Tube Splice (The Ultimate DIY Hack)
For larger splits or high-tension areas, repurposing an old bicycle inner tube provides incredible tensile strength and flexibility.
Cut a Sleeve: Cut a 3-inch section from a discarded bicycle inner tube.
Lubricate (Optional): Slip the rubber sleeve over the hose and slide it past the crack. (If tight, a drop of dish soap helps it glide).
Position and Secure: Center the rubber sleeve directly over the split. Fasten both ends tightly using heavy-duty zip ties or metal worm-gear hose clamps. Tighten them securely, but avoid crushing the internal wire reinforcement of the hose.
Permanent Solutions and Part Replacements
Emergency patches are wonderful for buying time, but high suction pressure eventually defeats temporary adhesives. If your hose is prone to splitting in the exact same spot, it is time for a permanent mechanical overhaul.
Trimming and Reattaching the Cuff
The vast majority of vacuum hose splits occur within two inches of the end cuff, where the rigid plastic fitting meets the flexible corrugated tubing. This is caused by leverage—every pull puts maximum bending torque right at the edge of the cuff.
[Vacuum Hose Cuff] ──> [Rigid Junction (High Stress Point)] ──> [Flexible Hose Body]
                                    ▲
                         (Usual location of cracks)
Step-by-Step Trimming Procedure:
Unscrew or Unthread the Cuff: Most vacuum hose cuffs are threaded onto the spiral coils of the hose. Counter-intuitively, some spin on counter-clockwise while others spin clockwise. Twist the cuff firmly while holding the hose body to unscrew it.
Cut Away the Damaged Section: Using a sharp utility knife, cut cleanly across the hose perpendicular to its length, removing the cracked segment and the deformed end coils.
Re-thread the Cuff: Take the freshly exposed spiral end of the hose and twist it back into the internal threads of the cuff. Turn firmly until the hose seats completely against the inner stop of the fitting.
Secure the Joint: Wrap the junction with a layer of reinforced duct tape or secure it with a small dab of flexible silicone sealant around the outer rim to prevent air leaks and future loosening.
When to Replace the Entire Hose Assembly
If your hose is experiencing multiple splits along its central length, or if the plastic has become uniformly stiff, discolored, and chalky, patching is merely delaying the inevitable.
Replacing the entire hose assembly restores factory airflow dynamics, eliminates awkward bumps or ridges from tape patches, and ensures optimal motor performance. A struggling vacuum motor forced to pull air through a leaky, patched hose works harder, runs hotter, and risks premature burnout.
Choosing the Right Replacement Hose: OEM vs. Universal
OEM (Original Equipment Manufacturer): Always your best bet for uprights and specialized canister vacuums. OEM hoses match exact length, diameter, electrical wiring integration (for power brushes), and locking clip configurations.
Universal Hoses: Excellent for shop vacuums and older canister models. When buying universal, measure your inner and outer diameter precisely with calipers to ensure a snug, airtight friction-fit into your machine intake.
Common Pitfalls and Mistakes to Avoid When Fixing a Vacuum
Even experienced DIYers make mistakes when attempting vacuum repairs. Avoid these common traps to ensure your fix lasts:
Using Standard Duct Tape: Regular cloth duct tape lacks tensile strength and air-impermeability. Under high suction pressure, air whistles straight through the woven fabric, and the adhesive degrades quickly when exposed to dust and heat.
Ignoring Internal Air Turbulence: If you patch a hose by overlapping sections too thickly on the inside, you create an internal ridge. This ridge acts as a trap for pet hair, lint, and debris, leading to rapid, frustrating clogs.
Over-Tightening Hose Clamps: If your vacuum hose contains a steel spring wire spiral, cranking down metal hose clamps with excessive force can collapse the internal structure, permanently restricting airflow and ruining the hose.
Failing to Inspect for Secondary Damage: A split hose often indicates that the vacuum was subjected to a severe tugging force or a blockage elsewhere in the system. Always check your wand, floor attachment, and collection bin for clogs that caused the back-pressure or straining in the first place.
Proactive Maintenance: How to Extend Your Vacuum Hose’s Lifespan
The best repair is prevention. By adopting a few healthy cleaning habits, you can easily double or triple the operational lifespan of your vacuum hose.
Proper Coiling and Storage Techniques
Never Wrap the Hose Tight Around the Machine Body: Tightly cinching a long hose around the plastic posts of an upright vacuum creates chronic tension points that warp and stress the plastic.
The Over-Under Coil Method: Borrowed from audio engineers and firefighters, the “over-under” loop prevents the hose from twisting and fighting you during use. Allow the hose to fall naturally into large, relaxed loops (roughly 2 to 3 feet in diameter) and hang it on a wide wall hook rather than compressing it tightly in a corner.
Regular Cleaning and Debris Clearing
Prevent Heavy Strain: Never use the vacuum hose to pull or drag the entire heavy vacuum canister across a room or up a flight of stairs. Lift the machine by its designated carrying handle; let the hose do what it was designed to do—stretch and flex air, not dead weight.
Flush the Line: Periodically detach both ends of the hose and run a damp microfiber cloth attached to a length of twine through it, or flush it with warm water and mild dish soap. Ensure the hose is 100% dry before reattaching it to the machine to prevent mold growth or motor damage.
Frequently Asked Questions (FAQ)
Can I use regular duct tape to fix a vacuum hose?
No. Standard cloth duct tape is porous, lacks elasticity, and fails under negative suction pressure. Use self-fusing silicone tape, rescue tape, or heavy-duty rubber-backed repair tape instead.
How do I know if my vacuum hose is losing suction due to a crack?
Perform the “Hand Test.” Turn on the vacuum, block the end of the hose completely with your palm, and run your other hand slowly along the length of the hose. If you feel cool air rushing against your skin or hear a hissing whistle, you have located an air leak or split.
Can I cut off the damaged end of a vacuum hose and reuse it?
Yes! If the split is near either cuff, you can carefully unscrew the cuff, cut off the damaged inch or two of corrugated plastic with a utility knife, and thread the cuff back onto the fresh spiral coils.
What is the best tape for sealing a vacuum hose leak?
Self-fusing silicone tape is widely considered the gold standard for temporary-to-semi-permanent vacuum hose repairs because it chemically bonds to itself, creating a seamless, airtight rubber jacket that withstands high vacuum suction.
Conclusion
A cracking or splitting vacuum hose does not automatically mean a trip to the appliance store or an expensive replacement bill. By identifying the root causes of material fatigue, applying robust emergency fixes like silicone tape or heat shrink tubing, or executing a clean cuff-trimming repair, you can restore peak suction power in minutes.
Take a moment today to inspect your vacuum hose, adopt proper loose-coiling storage habits, and keep your cleaning routine running smoothly and efficiently.
