
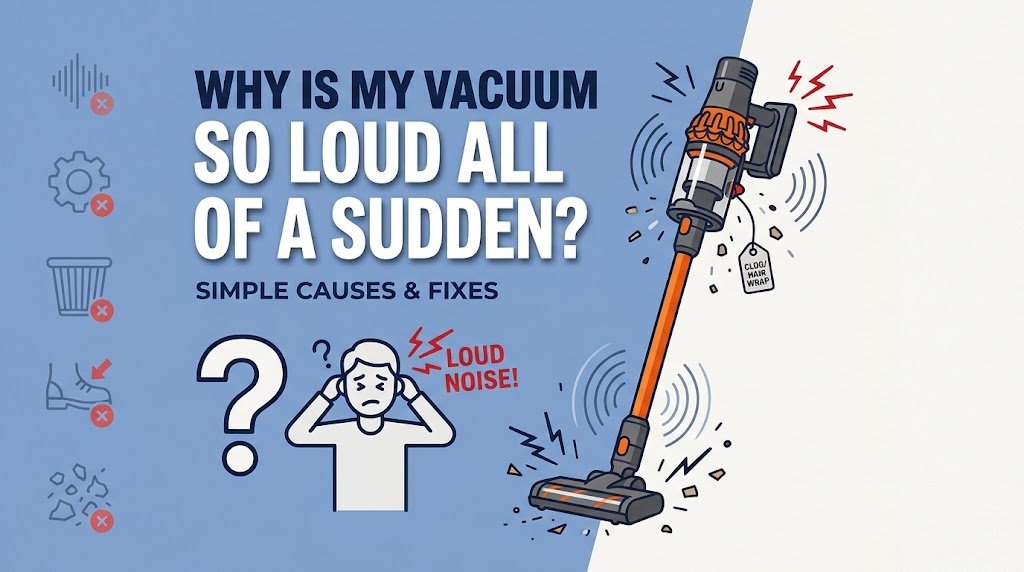
There are few household noises quite as jarring as turning on your trusted vacuum cleaner, only to be met with an earsplitting shriek, a metallic rattling, or a roar that sounds less like a cleaning appliance and more like a jet engine preparing for takeoff. A sudden spike in noise is never just a minor annoyance; it is your vacuum’s primary communication channel telling you that something is mechanically, aerodynamically, or structurally distressed.
Ignoring a sudden change in acoustic output can lead to catastrophic motor failure, melted plastic housings, or ruined carpets. Whether you are dealing with a high-pitched whistle, a grinding groan, or a hollow rumble, understanding the root cause is the fastest path to restoring peace and quiet to your cleaning routine.
In this comprehensive troubleshooting guide, we will break down the exact physics of vacuum noise, examine the primary culprits behind sudden volume spikes, explore common diagnostic mistakes, and provide step-by-step solutions to get your machine running smoothly again.
1. The Anatomy of Vacuum Noise: Normal vs. Abnormal Sounds
To troubleshoot effectively, you first need to establish a baseline. Every vacuum cleaner produces a distinct sound profile determined by its motor wattage, suction design, and airflow channeling. However, human ears are remarkably adept at detecting deviations from this baseline.
Whining vs. Whistling vs. Rattle
The High-Pitched Whine or Whistle: This sound typically indicates a restriction in airflow. When the motor is starved of air, the internal pressure drops dramatically, forcing air through narrow gaps at high velocities, creating a sound akin to blowing across the top of a glass bottle.
The Metallic Rattling or Clanging: This points directly to physical debris striking moving parts—most commonly coins, paperclips, screws, or small stones trapped in the fan chamber or beating against the brush roll.
The Deep Growl or Vibration: A low-pitched rumble or heavy vibration usually signals mechanical wear, such as loose housing screws, an unbalanced fan blade, or deteriorating motor bearings.
Pro Tip: Always note when the noise occurs. Does it start the exact second you flip the power switch, or does it change pitch only when you lower the cleaning head onto a thick carpet pile? The timing provides an immediate clue to the source of the problem.
2. Blockages and Restrictions: The Primary Culprit
By far, the most common reason a vacuum suddenly becomes deafeningly loud is an obstruction in the airflow path. When a blockage chokes off the intake, the motor must work significantly harder to pull air through the system. This creates a high-pressure vacuum pocket behind the blockage, causing the motor to strain, overheat, and scream in protest.
Checking the Hose and Wand for Obstructions
Long, flexible hoses and extension wands are magnets for bulky debris like socks, clumped pet hair, and large dust bunnies.
Disconnect the Hose: Detach the flexible hose from both the vacuum canister and the wand assembly.
Perform the Drop Test: Drop a small coin or a marble through the hose. If it clatters out the other side immediately, the hose is clear. If it gets stuck, you have located your blockage.
Clear the Obstruction: Use a flexible broom handle or a straightened wire coat hanger to gently push the debris out. Never use a sharp, rigid metal rod that could puncture the plastic corrugation of the hose.
The Roller Brush and Belt Obstruction Trap
If your vacuum head makes a loud thumping or whining noise accompanied by a burning rubber smell, look closely at the brush roll. Hair and carpet fibers wrap tightly around the cylindrical brush over time, binding the bearings and stalling the drive belt. When the belt slips against a locked brush roll, it creates a loud squealing sound that can quickly melt the belt or the surrounding plastic housing.
3. Filter Failures and Airflow Suffocation
Modern vacuums rely heavily on multi-stage filtration systems, including foam pre-filters, pleated paper filters, and HEPA cartridges designed to trap microscopic allergens. While these filters protect your lungs and the motor, they require regular maintenance.
[Air Intake] ---> [Blocked Filter] ---> [Starved Motor] ---> [High-Velocity Whistle & Overheating]
When a filter becomes completely saturated with fine dust, drywall powder, or pet dander, it acts like a brick wall against incoming air. The motor experiences severe airflow starvation, leading to a sharp escalation in operational volume and motor strain.
How to Inspect and Service Filters
Foam and Felt Filters: Most modern bagless vacuums feature washable foam filters. If yours are caked in gray dust, rinse them thoroughly under lukewarm water until the water runs clear. Crucial Rule: Allow the filter to air-dry completely for at least 24 hours before reinstalling it. Putting a damp filter back into a vacuum creates an immediate mold hazard and destroys the motor.
HEPA Cartridges: Pleated paper HEPA filters generally cannot be washed. Tap them gently against the side of an outdoor trash can to dislodge loose debris, or use a soft-bristled brush to sweep out trapped particulate matter. Replace these cartridges every 6 to 12 months depending on usage.
4. Mechanical Wear and Tear: Motor and Bearing Issues
If your troubleshooting reveals zero blockages and impeccably clean filters, the source of the noise may lie deep within the machine’s mechanical core.
Warning Signs of Failing Motor Bearings
The electric motor inside your vacuum spins at tens of thousands of RPMs, supported by precision steel ball bearings. Over years of heavy use, or if fine dust breaches the motor seals, these bearings dry out, corrode, or pit.
When bearings fail, they produce a distinctive high-pitched screeching, grinding, or howling noise that grows progressively louder the longer the vacuum runs. Unlike an airflow whistle, bearing noise often changes tone when you tilt or move the vacuum body around, shifting the weight load on the spinning armature shaft.
Fan Blade Damage and Debris Strikes
Beneath the motor housing sits the suction fan (impeller). If a sharp piece of debris—such as a piece of broken glass, a jagged pebble, or a metal screw—manages to bypass the primary filters and strike the spinning fan blades, it can chip or bend them. An unbalanced or chipped fan blade creates a violent vibrational hum accompanied by a rhythmic metallic ticking sound.
5. Loose Components, Vibrations, and Air Leaks
Sometimes a loud vacuum is simply rattling itself apart. High-speed electric motors generate continuous micro-vibrations. Over time, these vibrations loosen screws, snap plastic clips, and degrade rubber seals.
Cracked Casings and Loose Screws
Examine the exterior housing of your vacuum. If a plastic seam has popped open, or if a mounting screw holding the motor cowl in place has fallen out, the surrounding plastic panels will vibrate violently against each other every time the motor spins up, creating an irritating buzzing or clattering racket.
Hose Cracks and Suction Leaks
A microscopic crack in a flexible hose or a loose connection at the canister port will force air to whistle past the gap at high pressure. This creates a whistling sound that mimics a traditional wind instrument. Run your hand carefully along the length of the hose while the machine is running; if you feel a jet of escaping air or suction pulling at your skin, you have found an air leak.
6. Common Pitfalls & Mistakes to Avoid During Troubleshooting
When faced with a noisy household appliance, it is easy to panic and make costly errors. Avoid these common mistakes when diagnosing your vacuum:
Ignoring a Burning Odor: If a loud noise is accompanied by the smell of hot plastic or burning rubber, shut off the machine immediately. Continuing to run it can cause internal wiring to short out or start an electrical fire.
Using Sharp Metal Implements in Hoses: Shoving screwdrivers or kitchen knives into flexible hoses to clear clogs often punctures the plastic wall, ruining the hose permanently and creating permanent air leaks.
Washing Non-Washable Filters: Submerging paper HEPA filters in water ruins their structural integrity, clogging the paper pores and permanently destroying their filtration capabilities.
Running the Vacuum Without Filters: Never run a vacuum without its filters installed “just to see if it’s quieter.” Dust and debris will be sucked directly into the high-speed motor bearings, destroying the motor instantly.
7. Frequently Asked Questions (FAQ)
Can a dirty filter make a vacuum loud?
Yes, absolutely. A clogged, dust-packed filter chokes off the airflow to the motor. This airflow starvation forces the motor to strain, dramatically increasing its operating pitch and volume. Cleaning or replacing your filters often instantly restores normal noise levels.
Why does my vacuum sound like it’s sucking up gravel?
This metallic rattling or crunching sound almost always means a hard object—such as a coin, a screw, a paperclip, or small stones—has been sucked up and is bouncing around inside the hose, the wand, or the fan impeller chamber. Turn off the vacuum immediately and inspect the airways to prevent permanent damage to the fan blades.
Is it safe to keep using a loud vacuum?
No. A sudden increase in volume indicates mechanical stress, an obstruction, or bearing failure. Continuing to operate the machine risks overheating the motor, melting internal plastic components, or triggering a total motor burnout.
How much does it cost to fix a noisy vacuum?
If the noise is caused by a blockage, dirty filters, or a tangled brush roll, the fix is entirely free and takes only a few minutes. However, if the issue is a burned-out motor bearing or a damaged fan assembly, repair costs can range from $50 to over $150, making replacement a more cost-effective option for older budget models.
8. Conclusion & Actionable Next Steps
A sudden spike in vacuum noise is your appliance’s way of crying for help. By systematically working your way from the outside in—checking for hose blockages, washing or replacing suffocated filters, inspecting the brush roll for tangles, and listening for mechanical bearing failure—you can accurately diagnose the issue and often fix it in under ten minutes.
