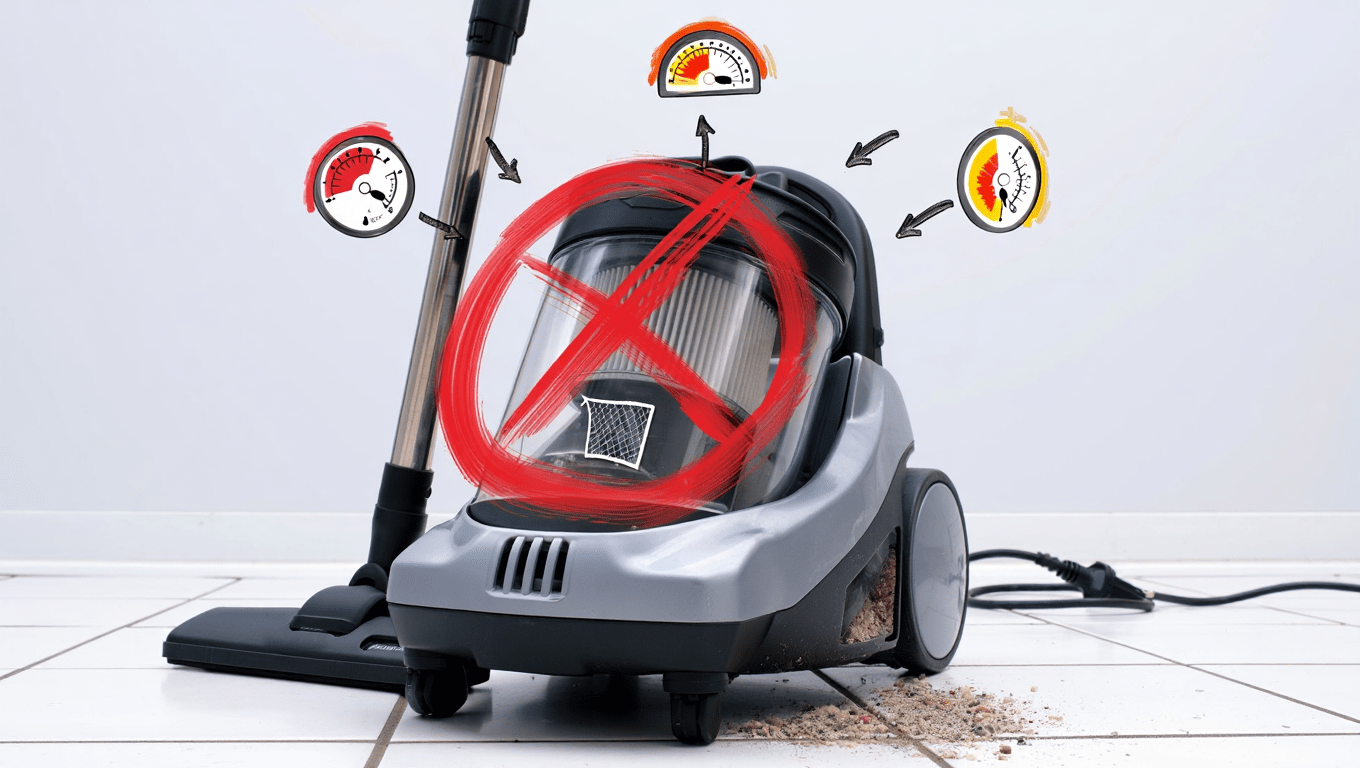
Few things are more frustrating than vacuuming your home when your vacuum suddenly shuts off due to overheating. Not only does this interrupt cleaning, but repeated overheating can permanently damage the motor, belts, or brush rolls. Overheating often results from airflow restrictions, clogged filters, or worn components, and ignoring these signs can shorten your vacuum’s lifespan.
Here, I’ll explore the most common reasons vacuums overheat, provide step-by-step fixes, share cost-saving tips, and discuss preventive maintenance. By following these strategies, you can restore your vacuum’s efficiency and avoid unexpected shutdowns.
Why Vacuums Overheat and Shut Down?
Understanding why vacuums overheat is crucial to preventing repeated shutdowns and extending the machine’s life. Overheating occurs when the motor cannot dissipate heat properly, often caused by restricted airflow or mechanical strain. This is not just an inconvenience—excess heat can warp plastic components, melt belts, and degrade motor insulation.
Modern vacuums typically have a thermal cutoff mechanism that shuts down the machine automatically to prevent permanent damage. Recognizing early signs of overheating allows you to take action before expensive repairs or replacements become necessary.
Common Causes of Vacuum Overheating
One of the primary reasons vacuums overheat is restricted airflow. Filters clogged with dust, dirt, or pet hair prevent air from moving freely, forcing the motor to work harder and generate excess heat. Blocked hoses or brush rolls wrapped in hair or debris create similar airflow restrictions. Overfilled dust canisters or bags also contribute, as suction decreases and the motor compensates by drawing more power.
Additionally, worn belts or brush rolls that no longer spin smoothly can place extra strain on the motor. Vacuuming wet debris in a vacuum not designed for liquids is another common cause of overheating and motor failure.
Example: A homeowner vacuuming a high-pile carpet noticed that the vacuum stopped mid-cleaning. After inspecting, they found the brush roll packed with hair and a nearly full dust canister. Removing the hair and emptying the canister immediately restored normal operation.
How Overheating Affects the Vacuum Motor?
Overheating damages vacuums in several ways. The motor’s insulation can degrade, leading to short circuits or permanent failure. Excess heat can also warp plastic parts, melt belts, and damage internal gears. The thermal cutoff protects the motor by shutting it down temporarily, but repeated overheating reduces its lifespan.
In high-end vacuums, overheating may also trigger error codes or indicator lights, alerting the user to immediate maintenance needs. Ignoring these warning signs may result in irreparable motor damage, costing hundreds in repairs or necessitating a full replacement.
Signs Your Vacuum Is About to Overheat
There are several early warning signs of overheating. A noticeable burning or rubber smell is a strong indicator of belt strain or motor friction. Reduced suction or uneven airflow can signal that filters, hoses, or brush rolls are obstructed.
Unusual motor noises, such as whining or grinding, suggest internal strain. Finally, automatic shutdown mid-cleaning is the vacuum’s safety mechanism kicking in. Observing these signs early allows you to perform maintenance before the motor sustains permanent damage.
Step-by-Step Guide to Fix an Overheating Vacuum
Fixing an overheating vacuum involves careful inspection, cleaning, and sometimes part replacement. Addressing airflow issues, removing blockages, and checking belts and brush rolls are critical steps.
Safety First
Before any maintenance, always unplug the vacuum and allow it to cool for 30–60 minutes. Attempting to inspect or disassemble a hot motor can be dangerous. Gloves and a dust mask are recommended to avoid contact with dust, debris, or allergens. Safety precautions ensure you can clean effectively without risk of injury.
Inspecting and Cleaning Filters
Filters are often the main culprit behind overheating. HEPA filters trap fine dust and allergens but can quickly become clogged, especially in homes with pets. Standard filters are less efficient but still require frequent attention.
Cleaning process: Remove the filter according to the manufacturer’s instructions. Washable HEPA filters can be rinsed under cold water and left to dry completely for 24 hours before reinserting. Non-washable filters should be tapped gently to remove dust. For pet owners or high-dust environments, replacement every 6–12 months is recommended.
OEM vs. aftermarket: OEM filters ensure full airflow and suction, while aftermarket options may save 30–50% but occasionally reduce efficiency. For vacuums prone to overheating, investing in high-quality filters is often worthwhile.
Checking Dust Canister, Bag, and Debris Pathways
Overfilled dust canisters or bags restrict airflow, forcing the motor to work harder and overheat. Empty dust canisters frequently and replace bags before they are completely full. Inspect hoses, attachments, and brush rolls for clogs. Even a small amount of debris can significantly reduce suction. Using a flexible brush or broom handle can help remove stubborn hair or dust trapped inside hoses.
Inspecting Brush Roll and Belts
Brush rolls wrapped in hair or threads create resistance, increasing motor workload. Carefully remove debris with scissors or a cleaning tool. Check the brush roll for smooth rotation; if it resists or wobbles, replace it. Belts are another common source of strain.
Overstretched or cracked belts increase friction, causing the motor to overheat. Replacing worn belts is a simple, cost-effective solution that often restores proper function.
Motor and Internal Components Check
For deeper issues, inspect the motor and cooling vents. Compressed air can blow out dust and debris from motor housings, fan blades, and internal vents. Ensure all vents are unobstructed to allow proper cooling. Avoid touching electrical components directly.
If overheating persists despite cleaning, a professional inspection may be necessary to check motor windings, bearings, or internal electronics.

Preventing Vacuum Overheating in the Future
Preventing overheating is always easier than repairing a motor or replacing belts. Regular maintenance, proper vacuuming practices, and careful storage protect your vacuum from excessive heat buildup.
Regular Maintenance Schedule
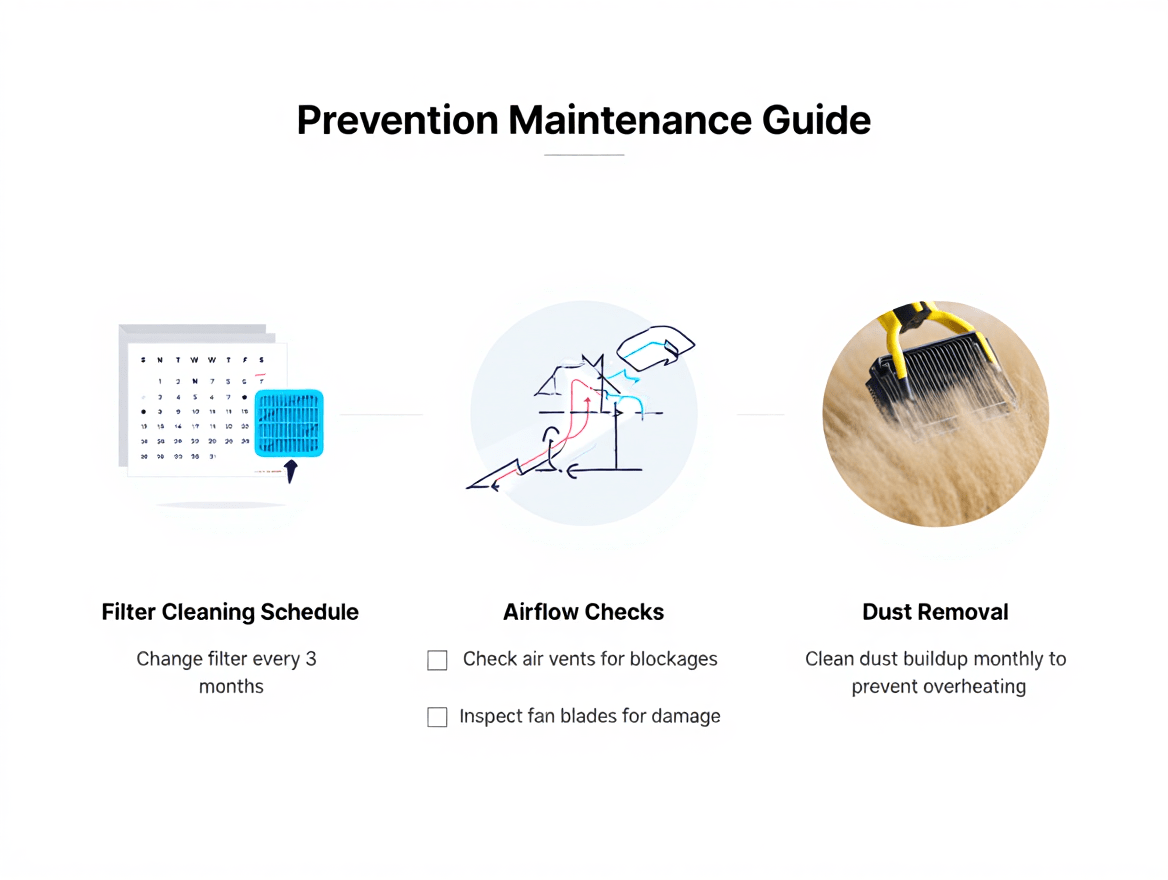
Establishing a routine is critical. Weekly tasks include emptying dust canisters, cleaning brush rolls, and inspecting hoses for blockages. Monthly, check filters, belts, and motor vents for dust or hair buildup. Quarterly, perform a deep clean using compressed air to remove internal dust accumulation. By following a structured schedule, you maintain airflow, reduce motor strain, and extend your vacuum’s life.
Pro tip: Keep a maintenance log. Note filter changes, belt replacements, and deep cleanings. This helps track when parts may need attention before overheating occurs.
Proper Vacuuming Practices
Certain vacuuming habits prevent overheating. Avoid vacuuming wet debris unless your vacuum is designed for liquids. Thick carpets or tangled hair can overwork the motor, so take breaks during long sessions. Don’t force the vacuum over heavy piles of dirt; instead, make multiple passes slowly.
Using high-quality filters and bags that match your vacuum model ensures consistent airflow, which is critical to avoiding thermal stress on the motor.
Storage and Usage Tips
Store vacuums in dry, ventilated areas to prevent moisture buildup, which can contribute to overheating and electrical faults. Never leave debris in the canister or bag while storing, as trapped dirt can restrict airflow during the next use.
Additionally, avoid using aftermarket parts that reduce airflow; cheap filters or ill-fitting components often cause overheating issues over time. Investing in quality, manufacturer-recommended parts ensures your vacuum runs efficiently and safely.
Cost, Lifespan, and Replacement Considerations
Sometimes, cleaning and preventive measures aren’t enough. Understanding when to replace components or upgrade your vacuum is key to maintaining performance and avoiding repeated overheating.
When Cleaning Isn’t Enough?
Persistent overheating may indicate worn-out parts. Motors that repeatedly trigger thermal cutoffs might have damaged windings. Belts that constantly stretch or snap, or brush rolls that resist rotation despite cleaning, signal that replacement is necessary. Ignoring these issues can result in permanent motor damage, costing hundreds in repairs or requiring a full vacuum replacement.
Cost of Replacement Parts
| Part | OEM Cost | Aftermarket Cost | Notes |
| HEPA Filter | $30–50 | $15–25 | Maintains airflow and prevents dust accumulation |
| Dust Bags | $10–20 | $5–10 | Replace before 2/3 full to reduce motor strain |
| Brush Roll | $25–50 | $15–30 | Remove hair regularly; replace when worn |
| Belts | $10–20 | $5–15 | Critical for motor efficiency; worn belts increase heat |
Choosing OEM parts ensures optimal airflow and motor protection. Aftermarket options can save money but may compromise efficiency, increasing the risk of future overheating. For vacuums heavily used in pet homes or high-dust environments, investing in OEM components is usually worth it.
Choosing a Vacuum Resistant to Overheating
When shopping for a new vacuum, look for features that reduce overheating risk:
- High-efficiency airflow designs with cooling vents
- Tool-free access to brush rolls and filters for easier maintenance
- Anti-overheating safety systems or thermal cutoffs
- Models designed for high-pile carpets or pet hair, reducing motor strain
A vacuum designed with maintenance and airflow in mind will last longer, perform better, and minimize the risk of shutdowns due to heat buildup.
Common Mistakes to Avoid
Preventing overheating also means avoiding common mistakes:
- Ignoring filter and belt replacement schedules
- Vacuuming debris that the machine isn’t designed for, such as liquids or sticky substances
- Overfilling dust canisters or bags
- Running the vacuum continuously without breaks on thick or high-pile carpets
- Using cheap, ill-fitting aftermarket components that restrict airflow
Avoiding these mistakes ensures your vacuum stays cool, efficient, and long-lasting.
Conclusion
A vacuum that overheats and shuts down is usually signaling airflow restrictions, worn parts, or motor strain. Regular maintenance, including cleaning or replacing filters, inspecting brush rolls and belts, and ensuring clear airflow pathways, can prevent repeated shutdowns. Proper vacuuming practices, such as avoiding wet debris and taking breaks on thick carpets, also protect the motor.
Investing in OEM components, following a maintenance schedule, and selecting vacuums designed for efficiency significantly reduce overheating risk. By implementing these strategies, you can extend your vacuum’s life, improve cleaning performance, and avoid costly repairs. Consider upgrading parts or consulting professionals if overheating persists.
FAQs
Why does my vacuum overheat even when the dust canister is empty?
Even an empty canister may not guarantee proper airflow. Clogged filters, brush roll hair, or blocked hoses can still restrict airflow and cause the motor to overheat.
How often should I replace belts and filters to prevent overheating?
Belts should be checked every 3–6 months, and filters replaced per manufacturer guidelines—typically every 6–12 months for HEPA filters.
Can overheating permanently damage the motor?
Yes, repeated overheating can degrade motor windings, warp components, or melt belts, potentially leading to permanent motor failure.
Is it normal for vacuums to get warm during long cleaning sessions?
A slight warmth is normal, but noticeable heat accompanied by reduced suction, smell, or shutoffs indicates overheating issues.
Are some vacuum models more resistant to overheating than others?
Yes, vacuums with high-efficiency airflow, cooling vents, and tool-free maintenance access handle heat better, especially in high-use or pet-heavy environments.
How long should I let a vacuum cool before using it again after shutting down?
Typically, allow 30–60 minutes for the motor to cool fully before restarting, depending on room temperature and vacuum model.
