A vacuum that won’t turn on can quickly disrupt your cleaning routine and leave your home messy. This problem often stems from common issues such as electrical faults, clogged components, or motor failures. Understanding why your vacuum won’t start is essential to prevent unnecessary repairs or replacement costs.
Here, I’ll walk you through practical troubleshooting steps, maintenance tips, and solutions to common problems. Whether you have a handheld, stick, upright, or robot vacuum, these strategies will help you identify the cause, fix the issue efficiently, and prolong the life of your vacuum.
Common Reasons a Vacuum Won’t Turn On
Electrical Power Issues
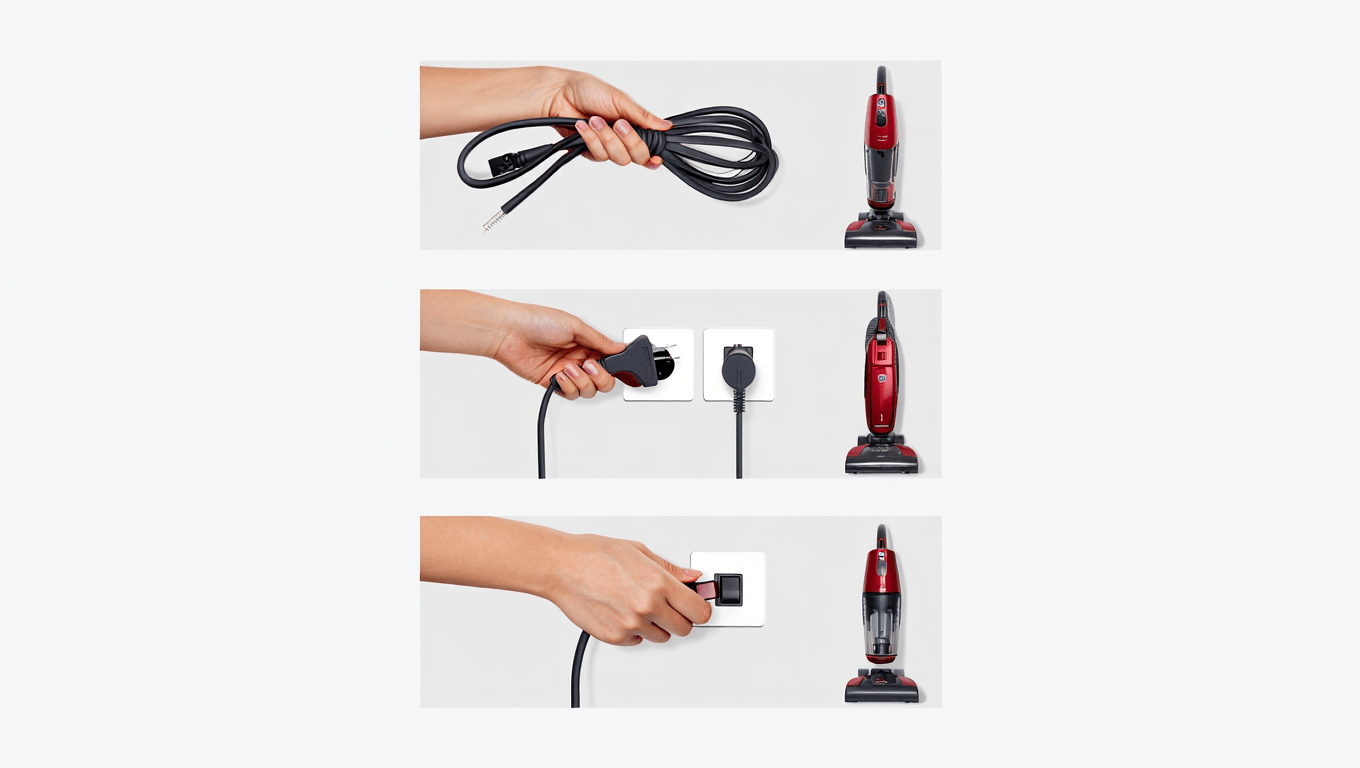
One of the simplest but often overlooked causes is a lack of power. Check the outlet first. Test it with another appliance to confirm it’s working.
Real-World Example:
A homeowner believed their new upright vacuum was faulty. After troubleshooting, they realized the outlet had tripped a circuit breaker. Resetting the breaker restored power and avoided unnecessary repair costs.
Practical Tips:
- Always test multiple outlets before assuming the vacuum is broken.
- For corded vacuums, inspect the power cord for cuts, frays, or exposed wires.
- For cordless models, ensure the battery is charged and properly seated.
Faulty Switches or Internal Wiring
If the vacuum receives power but doesn’t start, a defective on/off switch or damaged internal wiring may be the culprit.
Example:
An upright vacuum wouldn’t turn on after a few years of use. The switch had worn out. Replacing it with an OEM part restored full functionality at a fraction of the cost of a new vacuum.
Cost-Saving Tip:
- Use OEM switches and wiring components for reliability.
- Avoid cheap aftermarket parts that may fail quickly and reduce motor lifespan.
Blown Fuses or Tripped Breakers
Some vacuums have internal fuses to protect the motor from electrical surges. A blown fuse will prevent the vacuum from turning on.
Example:
A family noticed their vacuum wouldn’t power on. Checking the manual revealed a fuse behind the motor housing. Replacing it solved the problem instantly.
Advice:
- Always follow the manufacturer’s instructions when replacing fuses.
- Keep spare fuses on hand for quick replacement.
Overheating Prevention
Thermal Protection Switch
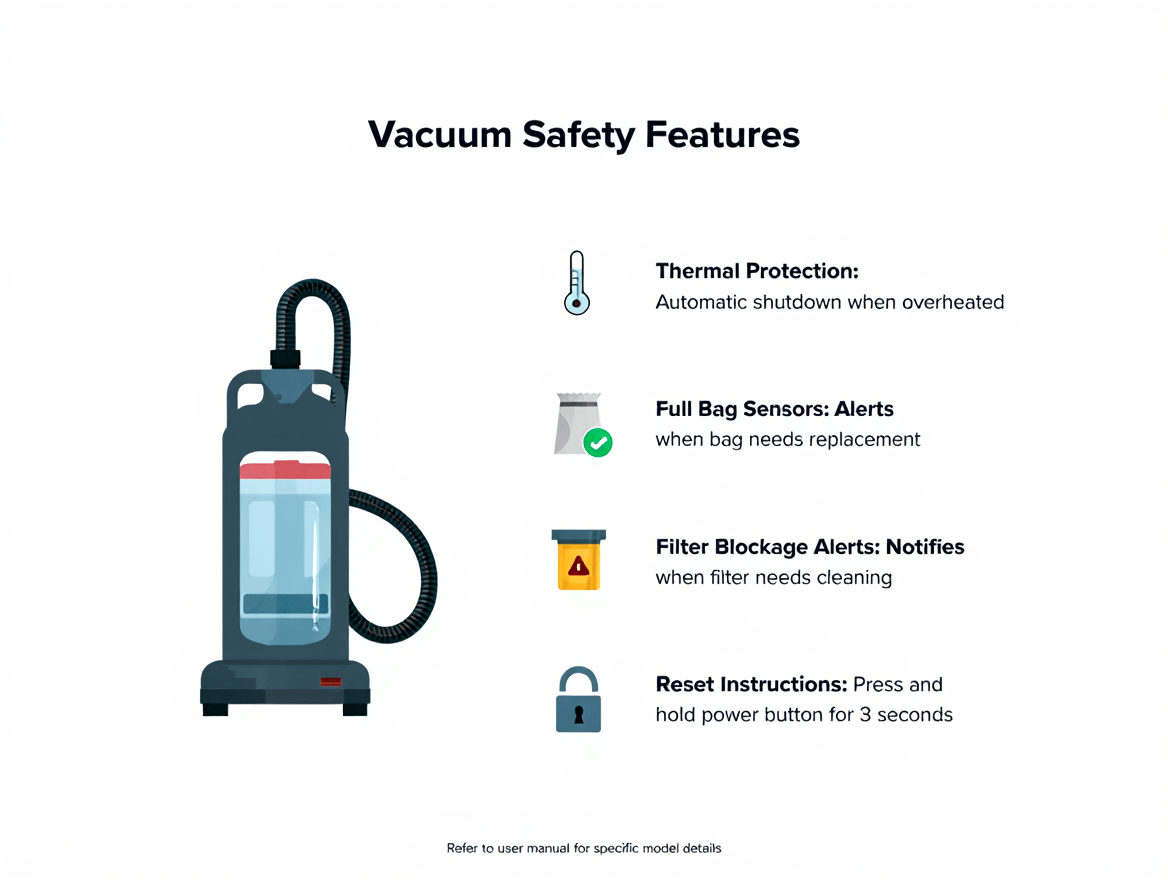
Modern vacuums often include a thermal protection switch. If the vacuum was used for a long period, it may have overheated and shut off. It won’t turn on until the motor cools down.
Example:
A vacuum stopped responding after a deep carpet cleaning session. After 45 minutes of cooling, the vacuum powered on normally.
Tips:
- Avoid prolonged cleaning on high-suction settings for delicate surfaces.
- Regularly empty dustbins and clean filters to maintain airflow.
- Monitor brush rolls and belts for blockages that could overwork the motor.
Clogs and Airflow Obstructions
A blocked hose, nozzle, or filter can strain the motor and prevent the vacuum from turning on.
Example:
A handheld vacuum wouldn’t start, even with a fully charged battery. Inspecting the hose revealed a lodged piece of popcorn obstructing airflow. Clearing the blockage restored operation immediately.
Maintenance Advice:
- Check hoses, attachments, and nozzles for debris regularly.
- Remove hair, threads, and lint from brush rolls.
- Wash or replace filters according to manufacturer instructions.
Battery Issues (Cordless Vacuums)
For cordless vacuums, a dead or faulty battery is the most common reason it won’t turn on.
Example:
A stick vacuum stopped working entirely. The battery had lost its ability to hold a charge after two years. Installing a new OEM battery resolved the issue and extended vacuum life.
Practical Tips:
- Fully charge the battery before troubleshooting.
- Test the vacuum with a spare or replacement battery if available.
- Avoid cheap aftermarket batteries that may reduce runtime or damage the vacuum.
Advanced Troubleshooting
Inspect the Motor
If your vacuum still won’t turn on after checking outlets, batteries, and fuses, the motor may be at fault. Motors can fail due to overheating, worn brushes, or internal damage.
Example:
An upright vacuum refused to power on after several years. Upon inspection, worn carbon brushes prevented the motor from completing the circuit. Replacing the OEM brushes restored full functionality at a fraction of the cost of a new vacuum.
Practical Tip:
- Use OEM motor components whenever possible.
- Avoid cheap aftermarket parts; they may reduce efficiency and damage the motor.
- If the motor smells burnt or makes grinding noises, replacement is often more cost-effective than repair.
Check Internal Wiring and Switches
Loose or damaged internal wiring can prevent power from reaching the motor. Faulty on/off switches are also a common culprit.
Example:
A family vacuum wouldn’t start. A loose wire near the switch caused intermittent operation. After securing the wire and replacing the switch, the vacuum functioned normally.
Maintenance Advice:
- Inspect wiring for fraying, exposed sections, or loose connectors.
- Test the switch using a multimeter for continuity.
- Always replace components with OEM parts for reliability.
Test Vacuum Components Individually
For vacuums with multiple attachments, test the main unit alone. Some accessories can create resistance or short circuits that prevent the vacuum from powering on.
Example:
A robot vacuum with a detachable hose wouldn’t start with the hose attached. Removing the hose allowed it to operate, revealing an internal blockage. Cleaning the hose fixed the problem permanently.
Tip:
- Disconnect all removable parts and test the vacuum.
- Check each attachment for clogs, debris, or damage.
Preventive Maintenance to Avoid Startup Problems
Regular Cleaning of Components
- Empty dustbins after each use.
- Clean or replace filters regularly (washable vs non-washable).
- Remove hair, threads, and lint from brush rolls monthly.
Benefit:
A clean vacuum reduces the risk of motor strain and electrical issues, ensuring it powers on reliably.
Battery Care for Cordless Vacuums
- Fully charge batteries before use.
- Avoid leaving batteries empty for extended periods.
- Replace OEM batteries when capacity declines.
Example:
A cordless stick vacuum stopped turning on intermittently. Replacing the battery with a genuine OEM unit restored runtime and performance. Cheap aftermarket batteries failed after a few months, costing more in the long run.
Avoid Overworking the Vacuum
- Don’t vacuum for extended periods without breaks.
- High-suction settings on thick carpets can overheat the motor.
- Avoid vacuuming wet debris unless designed for wet/dry use.
Tip:
Follow manufacturer guidelines for runtime, settings, and surface types to prevent electrical or motor failures.
When to Replace Your Vacuum?
Even with proper care, some vacuums are better replaced than repaired:
Signs You Need Replacement:
- Persistent failure to power on despite troubleshooting
- Repeated repair needs exceeding 50–70% of replacement cost
- Burnt motor smell, sparks, or unusual noises
- Outdated model lacking modern efficiency or features
Example:
A 6-year-old upright vacuum repeatedly failed to turn on. Multiple repairs totaled $120. Replacing it with a new model for $180 saved money, improved performance, and included a warranty.
Cost-Saving Tip:
Compare repair costs to replacement prices and consider energy efficiency, improved suction, and HEPA filtration when choosing a new vacuum.
Final Takeaway
A vacuum that won’t turn on is frustrating but often repairable with proper troubleshooting. Start by checking outlets, fuses, and batteries, then inspect wiring, switches, motors, hoses, and attachments. Regular maintenance—cleaning dustbins, filters, and brush rolls—prevents startup issues, protects the motor, and extends vacuum lifespan. Use OEM parts for reliability and cost-effectiveness.
If persistent failures occur or repairs exceed replacement costs, investing in a new vacuum may be the smarter choice. By understanding common causes and preventive measures, you can maintain a reliable vacuum, save money on repairs, and ensure a cleaner, healthier home environment.
FAQs
Why won’t my vacuum turn on at all?
Common reasons include power outlet issues, blown fuses, dead batteries, motor failure, or faulty switches. Check each component systematically to identify the cause.
Can cleaning my vacuum prevent it from failing to start?
Yes. Regularly emptying dustbins, cleaning filters, and removing hair from brush rolls ensures airflow, reduces motor strain, and prevents overheating or electrical faults.
Are OEM parts really necessary?
OEM parts are recommended. They maintain proper motor function, airflow, and reliability. Cheap aftermarket parts may fail faster, causing repeated problems or motor damage.
How do I know if the battery is the problem?
If your cordless vacuum won’t power on even after charging, the battery may be dead. Test with a replacement OEM battery to confirm.
Can a clogged hose prevent the vacuum from turning on?
Yes. Some vacuums have safety mechanisms that prevent startup when airflow is blocked. Check hoses, attachments, and brush rolls for debris.
How often should I inspect wiring and switches?
At least once a year, or if the vacuum begins intermittent operation. Inspect for frayed wires, loose connections, or worn switches.
Can over-suction settings damage the vacuum?
Yes. Using maximum suction on delicate surfaces can overheat the motor, trigger thermal shutdown, or prevent startup. Adjust settings to match flooring and debris type.

