
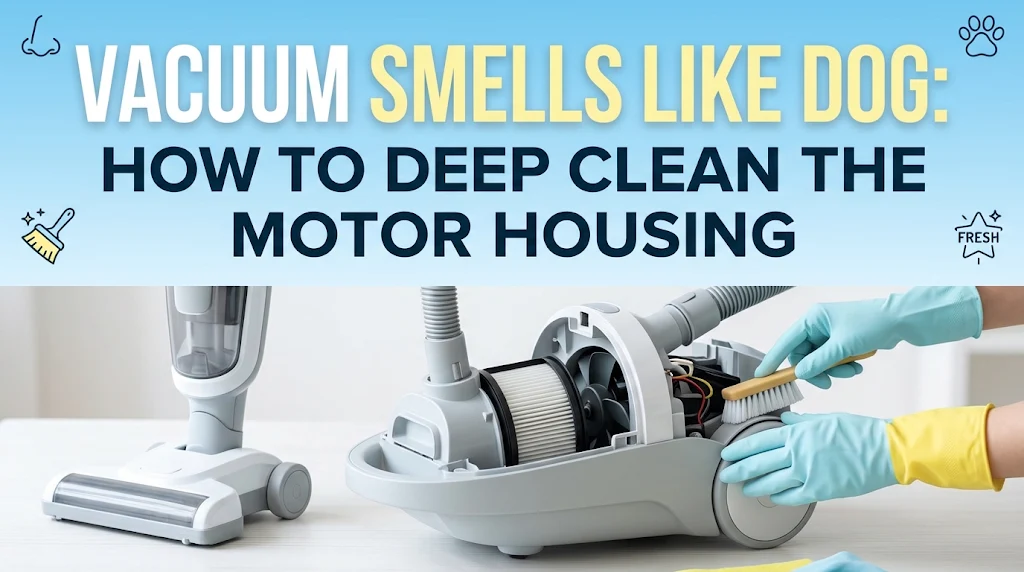
Few things ruin a freshly cleaned room faster than turning on your vacuum cleaner only to be hit with a blast of warm, stale, dog-scented exhaust air. You emptied the dustbin, washed the foam filter, and even bought a brand-new HEPA filter—yet every time the motor spins up, your living room smells like a wet Golden Retriever on a humid summer afternoon.
Why does this happen? When you vacuum up pet hair, dander, and dry skin flakes, tiny organic particles bypass basic filters and get drawn into the motor housing. Inside, the electric motor generates significant heat. That heat effectively bakes dog oils and dander into the motor’s internal plastic casing, sound-insulating foam, and fan assembly.
This guide provides a complete, step-by-step teardown and restoration procedure to safely access, clean, and neutralize dog odors locked deep inside your vacuum’s motor housing.
Understanding Why Pet Odors Trap in the Motor Housing
To eliminate the smell permanently, you must understand how odor molecules travel through your vacuum’s internal airflow system.
[Suction Nozzle] ➔ [Dust Cup / Bag] ➔ [Pre-Motor Filter] ➔ [Motor Housing & Fan] ➔ [Post-Motor HEPA Filter] ➔ [Exhaust Air]
When pet dander and sebum (skin oils) enter the vacuum:
Airflow Pulls Micro-Particles Past Primary Filters: Standard foam or paper pre-motor filters catch dust and large hair clumps, but microscopic pet dander and atomized oils pass right through.
Thermal Bonding Occurs: Electric vacuum motors operate at temperatures between 130°F and 170°F (55°C to 77°C). Heat acts as a catalyst, melting organic oils onto the plastic housing, motor motor mounts, and acoustic dampenings foam.
Baffle & Fan Coating: The motor fan impeller spins at tens of thousands of RPM, pulling oily air across its blades and depositing a fine layer of pet dander residue along the interior walls.
Key Takeaway: Washing the removable filter cleans only 20% of the airflow path. If the smell persists after filter replacement, pet dander oils have thermally bonded to the internal motor casing and sound-dampening foam.
Tools and Safety Equipment Required
Before starting disassembly, gather the proper tools and safety gear. Working around electrical components requires caution and proper isolation.
| Tool / Supply | Purpose |
| Torx T10 / T15 & Phillips Drivers | Most vacuums (Dyson, Shark, Hoover, Bissell) use security screws. |
| 70% Isopropyl Alcohol (IPA) | Cleans plastic casing without leaving conductive residue on electrical parts. |
| Enzymatic Cleaner Spray | Breaks down organic pet proteins and sebum oils at a molecular level. |
| Microfiber Cloths & Soft Detailing Brushes | Safe scrubbers that won’t scratch smooth plastic air channels. |
| Compressed Air Can or Air Blower | Blows out trapped dander from motor windings and tight crevices. |
| Nitrile Gloves & Dust Mask | Protects against high concentrations of aerosolized dander and dust. |
Step-by-Step Guide: Deep Cleaning the Motor Housing
SAFETY WARNING: Unplug the vacuum cleaner from the wall outlet before removing any screws or housing panels. For cordless battery-powered vacuums, detach the lithium-ion battery pack completely before proceeding.
Step 1: Outer Shell Stripping ➔ Step 2: Accessing Motor Casing ➔ Step 3: Extracting Acoustic Foam ➔ Step 4: Neutralizing Odors ➔ Step 5: Reassembly
Step 1: Strip down the Outer Accessories
Detach the main wand, floor head, dust cup, and all removable filters.
Set aside the pre-motor filter and post-motor HEPA filter. (Do not reuse old, oil-saturated filters).
Wash the plastic dust bin separately with warm water and dish soap, then set it aside to dry for 24 hours.
Step 2: Access the Inner Motor Housing
Locate the hidden screws securing the motor bucket or rear body housing.
Pro Tip: Manufacturers frequently hide screws under rubber foot pads, beneath brand stickers, or inside the filter cavity.
Gently unclip the plastic body panels using a plastic prying tool or flathead screwdriver to avoid snapping internal locking tabs.
Disconnect any low-voltage wiring harnesses leading to the power switch or display panel, noting their exact connections.
Step 3: Remove and Evaluate Acoustic Sound Dampeners
Inside most modern bagless and upright vacuums, thick grey or black foam surrounds the motor to deaden noise.
This foam acts like a sponge for pet oils and is almost always the primary source of persistent stink.
If the foam is crumbly or falling apart: Replace it entirely with high-density acoustic foam sheets cut to size.
If the foam is intact: Submerge it in a bowl of warm water mixed with an enzymatic pet cleaner for 30 minutes. Squeeze out excess liquid and let it air-dry completely for 24–48 hours. Never reinsert damp foam near an electric motor.
Step 4: Clean the Plastic Motor Cavity and Impeller
Take the bare motor unit outside or into a well-ventilated garage.
Use short bursts of compressed air to clear dry carbon dust and pet dander from the motor armature and cooling fins.
Wipe down the interior plastic housing walls using a microfiber cloth dampened with 70% Isopropyl Alcohol.
Clean the fan blades (impeller) gently using cotton swabs dipped in alcohol. Avoid getting liquid directly inside the sealed motor bearings or electrical copper windings.
Step 5: Neutralize Residual Odors
Spray an enzymatic cleaner onto a microfiber cloth (do not spray directly onto electrical components).
Wipe down all internal plastic air channels surrounding the motor.
Allow all components to sit open in a dry, ventilated area for several hours so volatile compounds evaporate.
Step 6: Reassemble the Vacuum
Reinstall the fully dried acoustic foam around the motor housing.
Re-seat the motor firm inside its rubber vibration-dampening mounts.
Reconnect electrical harnesses and snap/screw the outer shell panels back together.
Install brand-new pre-motor and post-motor HEPA filters.
Common Mistakes to Avoid
Spraying Cleaners Directly Into the Motor: Liquid inside motor windings causes electrical short circuits, sparks, and permanent motor failure. Always apply liquid cleaners to a cloth first.
Reassembling While Components Are Damp: Even tiny amounts of moisture trapped inside acoustic foam can create mold, mildew, and electrical hazards when powered back on.
Reusing Old Filters After Cleaning the Housing: Old filters carry trapped pet sebum. Putting an old filter back into a freshly cleaned motor housing reintroduces pet dander back into the system immediately.
Using Bleach or Harsh Solvents: Bleach degrades plastic housing, corrodes copper electrical contacts, and leaves dangerous fumes that exhaust into your living space during operation.
Preventing Future Pet Odors in Your Vacuum
Once your vacuum motor housing is completely deep-cleaned and odor-free, implement a simple maintenance routine to prevent smell buildup from returning:
Vacuum Dry Carpet Powder or Baking Soda First: Sprinkle a light layer of baking soda or pet-odor neutralizing carpet powder on carpets 15 minutes before vacuuming to help absorb surface oils before they reach the motor.
Empty the Dust Cup After Every Use: Never allow hair and organic matter to sit inside the dust container between vacuuming sessions.
Wash Pre-Motor Filters Monthly: Clean pre-motor foam filters every month using cold water, and replace them every 3 to 6 months depending on household pet density.
Store the Vacuum in a Ventilated Space: Storing your vacuum inside a damp, dark utility closet traps ambient moisture inside the unit, accelerating pet oil rancidity inside the housing.
Frequently Asked Questions
Why does my vacuum smell like dog even after replacing filters?
Filter replacement only addresses airflow barriers before and after the suction chamber. Microscopic pet skin oils pass through basic filters over time, coating internal plastic housing walls and acoustic foam surrounding the electric motor. The heat generated by the operating motor warms these trapped oils, causing pet odors to blow out through exhaust vents.
Can I spray Febreze or perfume into my vacuum suction inlet?
No. Spraying liquid air fresheners or perfumed sprays directly into the vacuum intake can damage electrical wiring, degrade foam seals, and create a fire hazard if flammable liquid droplets contact hot motor components. Instead, use designated solid vacuum odor-eliminating beads inside the dust cup or stick-on exhaust air freshener tiles.
How do I know if my vacuum motor is damaged vs just dirty?
A dirty housing smells distinctly of stale pet dander or wet dog hair. If your vacuum emits a sharp, acrid odor resembling burning rubber, ozone, or melting plastic, the motor bearings or drive belt may be failing. If you smell burning, turn off the vacuum immediately and inspect for electrical damage or mechanical jam.
Is it worth deep cleaning a cheap vacuum cleaner motor housing?
If your vacuum cost under $50–$75, the labor time and cost of replacement filters may approach the value of the unit. However, for mid-to-high-end vacuums (such as Dyson, Shark, Miele, or Sebo), deep cleaning the motor housing restores performance and extends equipment life by several years for a fraction of replacement cost.
Restore Fresh Air to Your Home
A smelly vacuum doesn’t mean your machine is ready for the landfill. By taking an hour to safely disassemble the housing, clean out trapped pet dander, and wash or replace the sound-insulating foam, you can completely eliminate stubborn dog odors at the source.
Need replacement filters or specialized security bits for your vacuum model? Check your vacuum manufacturer’s replacement parts manual to source original filters before starting your teardown.
