
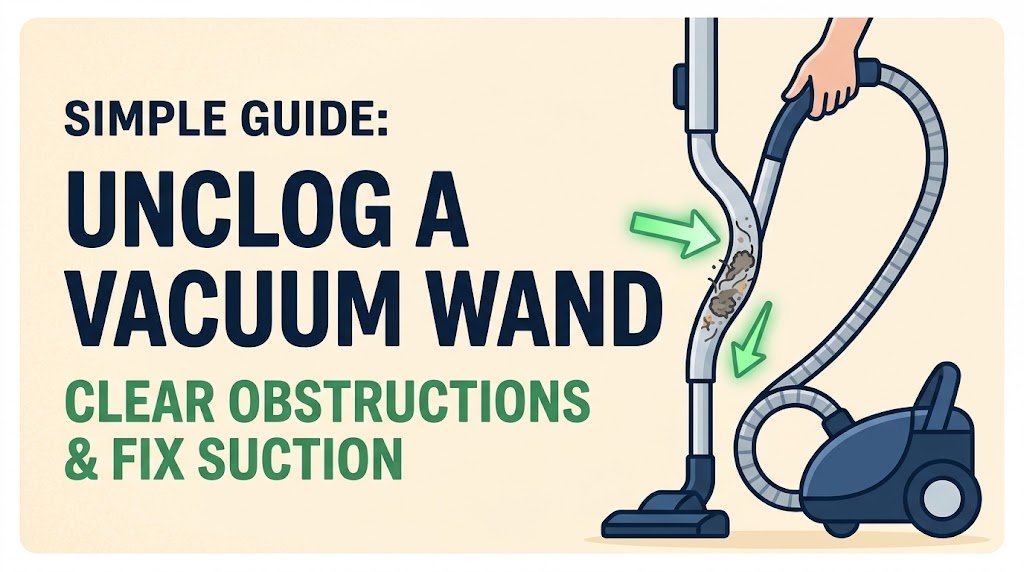
There is few things more frustrating during a routine weekend cleaning session than hearing that sudden, ominous change in your canister vacuum’s pitch—shifting from a deep, steady hum to a high-pitched whine. Suddenly, pet hair, dust bunnies, and debris stop moving through the tube, leaving you with a dead machine that refuses to pick up a single crumb.
A clogged canister vacuum wand can bring your whole cleaning workflow to an abrupt halt. Whether you are dealing with a classic straight metal wand or a complex motorized telescopic extension with integrated electrical wiring, blockages are inevitable over time.
In this comprehensive troubleshooting guide, we will break down exactly how to diagnose, clear, and prevent clogs in your canister vacuum wand safely, restoring maximum suction power in minutes.
1. Diagnosing the Blockage: Where Is the Clog Actually Located?
Before you start shoving tools into your vacuum wand, you need to isolate the exact location of the obstruction. Many homeowners assume the wand is blocked when the issue actually lies within the flexible hose, the floor nozzle, or an overfilled dust canister.
Disconnecting and Testing Sections
To pinpoint the clog, perform a systematic isolation test:
Detach the Floor Nozzle: Remove the floor tool or power brush head from the bottom of the wand and turn the vacuum on. Place your hand near the bottom opening. If suction is strong, the nozzle is likely the culprit.
Detach the Wand from the Hose: Unclip the wand from the flexible main hose. Turn the vacuum on and check the suction at the end of the hose. If the hose has strong suction, your blockage is trapped inside the wand. If the hose itself lacks suction, the obstruction is located further up the line or within the canister filters.
Pro Tip: Never run a vacuum if you suspect a complete blockage near the motor housing. Running a vacuum against a sealed choke point can cause the motor to overheat and trip internal thermal fuses, leading to costly repairs.
The Flashlight and Wire Test
Once you have isolated the wand, look straight down both ends. For straight metal wands, hold one end up toward a bright overhead light or shine a smartphone flashlight down the tube. Look for dark shadows or compacted clumps of hair, lint, and paper clips.
2. Step-by-Step Methods to Clear a Stubborn Wand Clog
Depending on what caused the blockage—whether it is a tightly packed hairball mixed with carpet fibers or a small plastic toy sucked up accidentally—you will need the right extraction technique.
Method 1: The Flexible Plumbing Snake or Drain Auger Technique
For clogs located deep inside long or curved wands, a small plumbing snake or a flexible drain auger works wonders.
Step 1: Straighten a heavy-duty wire coat hanger if a drain snake is unavailable, but ensure the end is looped or taped over so it doesn’t scratch or puncture inner plastic seals.
Step 2: Gently feed the snake into the narrow end of the wand.
Step 3: Twist and push slowly when you meet resistance. Do not jab aggressively, as this can compact fibrous debris into an even tighter plug.
Step 4: Once the snake breaks through the other side, hook the material and pull it back out gently, or push the compacted mass entirely through to the wider end.
Method 2: High-Pressure Water Flushing (For Solid Metal Wands)
If your canister vacuum wand is made entirely of rigid metal and contains no electrical components or internal wiring, water flushing is one of the fastest cleaning methods.
Step 1: Take the wand outdoors or to a deep utility sink.
Step 2: Attach a high-pressure nozzle to a garden hose or use a kitchen sink sprayer with strong water pressure.
Step 3: Flush water backward through the wand (from the bottom outlet to the top inlet). Flushing in reverse pushes the compacted debris back out the way it entered, preventing it from wedging tighter.
Step 4: Thoroughly dry the interior of the metal wand with a microfiber cloth attached to a string before reattaching it to your vacuum to prevent rust or moisture damage to your machine’s filters.
Example: Imagine a dense wad of pet hair mixed with spilled cereal forming a cork inside a narrow steel tube. Water pressure creates hydraulic force behind the clog, lifting the entire mass out instantly where a dry wire hanger might only punch a small hole through the center.
Method 3: Compressed Air Blasting
For dry, stubborn clogs of dust and lint, compressed air can blow the obstruction clear.
Step 1: Take the wand outside.
Step 2: Insert the nozzle of a compressed air can or an air compressor hose into one end of the wand.
Step 3: Wear safety glasses, as loose dust and debris will shoot out of the opposite end at high velocity.
Step 4: Give short, controlled bursts of air until the blockage dislodges.
3. Specialized Solutions for Telescopic and Electric Wands
Modern high-end canister vacuums often feature telescopic wands with internal electrical conduits designed to power motorized carpet nozzles. These require extra care during troubleshooting.
Dealing with Integrated Wiring and Power Connectors
Never use water on electric wands. Introducing moisture into the internal copper wiring or quick-release electrical pins will short-circuit the power system and ruin the wand.
Inspect the extension locks: Telescopic wands have inner sliding tubes. Debris can slip past the inner seals and jam the sliding mechanism. Use a dull wooden dowel or a chopstick to gently probe for blockages near the adjustment collar without damaging internal wires.
Check the electrical pins: If your vacuum loses power to the floor brush after clearing a physical clog, inspect the base connectors for trapped lint that might be blocking electrical continuity.
4. Common Pitfalls and Mistakes to Avoid
When frustration sets in during home maintenance, it is easy to make mistakes that turn a simple fix into an expensive replacement bill. Avoid these common errors:
Using Sharp Metal Screwdrivers: Poking around with a sharp screwdriver or knife can easily puncture thin aluminum wand walls or damage the internal plastic channels of modern ergonomic wands.
Ignoring the Vacuum Filters: Often, a “wand clog” is actually a symptom of severely clogged HEPA or foam filters restricting overall system airflow. Always check your filters if suction remains weak after clearing the wand.
Forcing Oversized Debris: If your vacuum routinely sucks up large objects (like coins, Lego bricks, or large scraps of paper), establish a policy of picking up large floor hazards manually before vacuuming.
5. Preventive Maintenance: Keeping Your Canister Vacuum Wand Clog-Free
An ounce of prevention saves hours of troubleshooting. Implement these simple habits to keep your cleaning system running smoothly:
Inspect High-Risk Areas Weekly: If you have multiple shedding pets or long-haired family members, check the wand entry point weekly for early signs of hair accumulation.
Avoid Fine Powders Without Bags: Vacuuming large amounts of drywall dust, baking soda, or fireplace ash without proper filtration bags creates a cement-like paste inside vacuum wands when mixed with ambient humidity.
Store Your Vacuum Properly: Store wands fully extended or detached in a dry closet to prevent moisture condensation from settling inside dark tubes.
Frequently Asked Questions (FAQs)
How do I know if the clog is in the wand or the hose?
Detach both ends of the wand and test suction directly at the flexible hose opening. If the hose has strong suction, the blockage is definitely inside the wand. If the hose lacks suction, check the canister bag, bin, or hose interior.
Can I use boiling water to melt a clog inside a vacuum wand?
No. Boiling water can warp or melt plastic components, weaken adhesive seals, and damage electrical wiring found in modern telescopic or motorized vacuum wands.
What is the safest tool to push out debris stuck in a curved wand?
A flexible plumber’s snake, a zip-tie with notched edges, or a sturdy string with a small cloth rag tied to the end are the safest tools for navigating curved or angled wand sections.
Why does my vacuum whistle after I remove a clog?
A whistling sound usually indicates that a small fragment of debris is still wedged tightly against the interior wall, or that an air leak exists at a loose connection point between the wand and the handle. Check all locking collars and seals.
Conclusion & Call to Action
A clogged canister vacuum wand can disrupt your cleaning routine, but with the right diagnostic steps, isolation techniques, and safe tools, you can restore full suction power in just a few minutes. Remember to match your clearing method to your wand type—keeping water far away from electric models while utilizing mechanical tools for stubborn debris.
Ready to optimize your entire home cleaning setup? Check out our complete guide on Advanced Vacuum Maintenance and Filter Care to extend the lifespan of your machine today!
